What kind of birthday card could you possibly make a male teen that is totally focused and super excited about starting out on his own for the first time ever to a new out-of-state college? Tough one, huh?!! No ideas here, until I decided to recreate the laptop he'll be taking with him. Suddenly it all came together, and pretty easily even!!

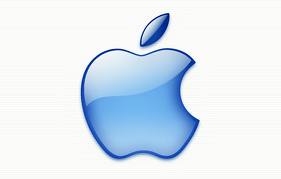
I started by searching Google Images for an Apple logo and keyboard. I used these two for my project. That saved me having to recreate them -- which could easily have taken me forever!!

Next I cut a 4-1/2" x 3-1/4" piece of silver
Bazzil Bling card stock (from Frantic Stamper of course!) to create the base for the "Mac Book". I folded it in half and rounded my corners.
For the "screen" (inside top half) of my card, I first cut a rectangle piece of black CS 2-1/4" x 3-1/4", adhered it to the inside top portion of the card and rounded the corners. Next I cut a rectangle piece of light blue CS 1/4" smaller on all sides and rounded the corners. I sponged the edges of the light blue CS in a darker blue to give it a dimensional look, and wrote my happy birthday note on the blue "screen" panel. I then layered it over the black piece. To complete the look, I cut a piece of acetate the same size as the black CS piece to cover the "screen" so it looked
a little more like glass.
For the keyboard part, I printed out the keyboard image twice onto white CS. I layered the first keyboard image onto the inside bottom half of my card base and rounded the corners. Then I cut out just the keypad-part of the keyboard from the second image. I adhered the keypad part onto of the keyboard using dimensionals so it was raised up a little.

And now for the front of the card, I printed out the Apple logo, fussy cut it and adhered it to the center on the outside of my card. I used
Crystal Lacquer to create the raised and shinny logo.
I added a "happy birthday" rub on sentiment just below the logo.
The best tip for this is to use the Google images from the web -- that saved me tons of time and gave the card a more realistic look!! As you can see, it pretty much was just basically assembly of the pieces!
TFL, I'm so glad you stopped by!