Sunday, September 29, 2013

3-D Card and A Collage Card


Hello Friends,


This card is made with a collage of DCWV Artistic Collage papers, some book print, and a picture of a Victorian era woman holding a bouquet of flowers.   I tore the papers and distressed them with TH Vintage Photo ink, added some crocheted lace trim, a feather, a key and keyhole brad, swirly bling and punched butterflies to complete the look.  I have this one for sale in my Etsy shop this week!


Next, I had to make another 3-D Accordion Card!  The Karen Burniston "3-D Accordian Flip" die makes it just plain fun and very easy to put together!  Here's a YouTube link of Karen Burniston demo-ing how to use the die to make one for yourself!  Here's a link to the first one I made: Accordian Card. 

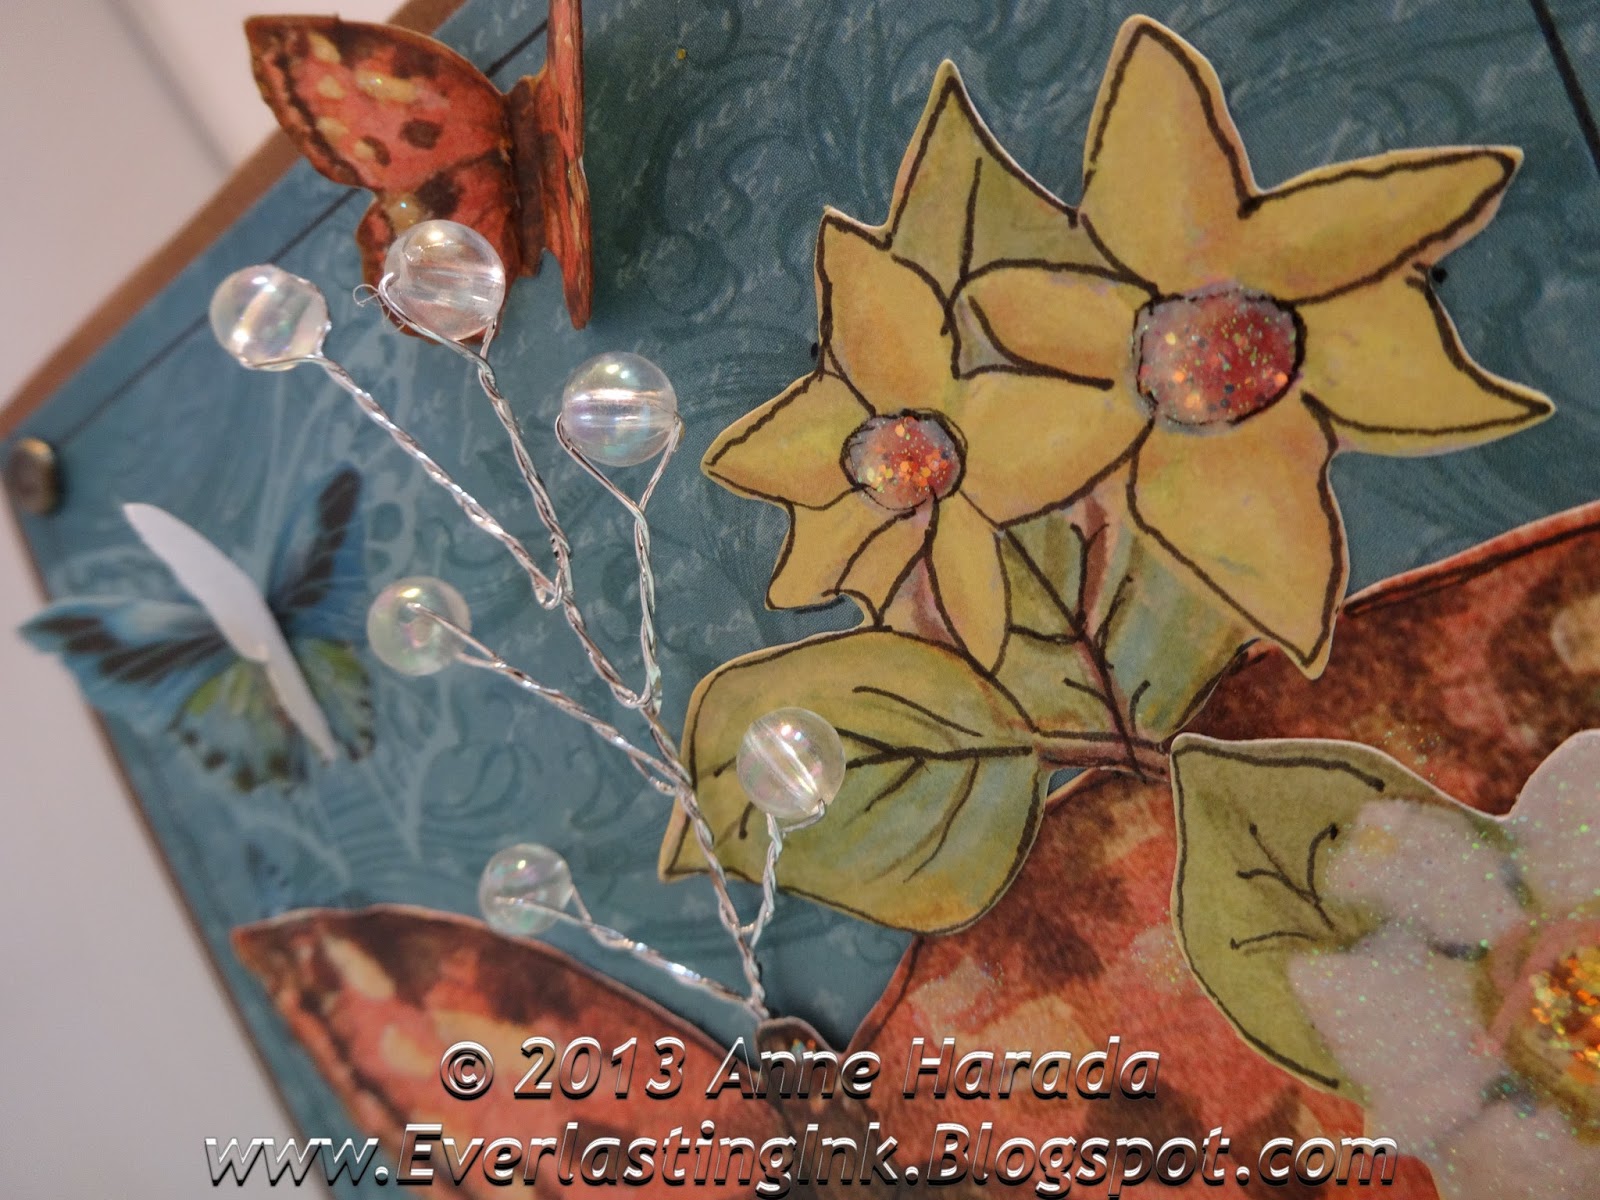
I used the same DCWV designer paper  (Artistic Collage) as I did for the first card. I pulled out multiple sets of K&Company's Brenda Walton 3-D stickers to embellish the different panels.

First Panel - stickers and Memory Box Leafy Branch die

 
Second Panel - More stickers and Leafy Branch die

This pane uses Basic Grey letter stickers, a bow charm, some more Stickers and 2 AC brads!
This third panel has an extra interactive element.  The panel lifts up to reveal a space for journaling or a special message to the recipient!

Last Panel - SU "Perfectly Penned" sentiment, Zing White EP, Stickers


TFL, I'm so glad you stopped by!

Saturday, September 21, 2013

Accordian Card


Hi Friends,

I love the Karen Burniston "Accordion Flip 3-D" die!  I was playing with it and just quickly threw this together - yes - quickly - with scrap papers and embellishments that I had not put away from previous projects.  (You can tell because the colors are not very coordinated and the theme is a mish-mash of different findings!)  But it's one of my favorites that I've made recently so I photographed it to share with you.

Here's some close ups:

The silver embellishments are all die cut from aluminum baking tins from the Dollar Store!

Stacked some flat Prima flowers from a Prima Artistry Flowers collection

Another aluminum tin piece that I die cut with a Spellbinders die.

The paper banner is a Simon Says Die and coordinating stamp set
The main frame part is designed to go together with another Sizzix die, which at the time I made this I did not have, so I used Spellbinders Labels Two Nestabilities as a layering panel.  I distressed all the edges and stamped a variety of background stamps on each before adding my embellishments. 
Front / unopened

If you're wondering, when you close the whole thing to send, it is about 1" thick, it's not something you can send in an envelope!  It's either going to have to be hand-delivered or put in a box as part of the gift! 


TFL, I'm so glad you stopped by!
 

Sunday, September 15, 2013

My Etsy Shop is Open!


Hello Friends,

Happy to share with you that I've once again opened my Etsy shop!  This time I'm selling more altered items than cards.  (There are some cards, but not like before.)  I shared a sneak peak of some of the items I made for it on my last blog post that you can check out if you're interested.  And if you have some time, I hope you'll run over and browse my shop called "Itsapassion" on Etsy.  Tell your friends LOL!!  :)

In the mean time, I wanted to share the Pop-up card I made for my parent's anniversary recently.  It's made with a Karen Burniston for Sizzix die called "Zig Zag 3-D Pop-Up". Here is a link to her YouTube video so you can see it in action!

I love the way the pop-ups criss-cross each other when the card is opened!  It's adds a fun surprise twist to any pop-up card.  For my card, I designed it with two butterflies that would criss-cross when you open it.

My lead blog post photo shows the outside of the card.  There is no stamping on the outside.  I used brown cardstock for the card base and Mariposa by DCWV DP for the rest of the card.

The butterflies and flower images are all K&Company die cut pieces from the Susan Winget "SW Nature" collection.

I stamped "Happy Anniversary" on a die cut from the same collection for the inside of the card.
The only other embellishing I did was some line doodling around the yellow flowers (to make them pop a little more) and around the perimeter of the card layer, some Ranger Stardust Stickles to the center of the flowers, a beaded wire spray, and some brads to each corner where my doodled lines crossed. 

TFL, I'm so glad you stopped by!

Saturday, September 14, 2013

Altered Butterflies!


Hi friends,

I have so much to post and share with you this week.  I've been in the "altering" zone and decided to start up my Etsy shop again for the holidays.  So I've altered some items that I'll be selling, and I'm giving you a sneak peak of some of them!!  I hope you like them!

After I post them here I'll start adding them to my shop then link back to my blog so you can check out everything.  Meanwhile... lets start the show !!  :)

These are my Altered Tin butteflies - I made one in French Blue, Pink (lead photo), Capri Blue (photo found here in my last post), one Vintage Style Red and Black, and one that I left unpainted but still altered.


They all started as these brass butterflies that I happened to find at several different places - a resale store, antique store and on Ebay. 


So what do you think?? 

TFL, I'm so glad you stopped by!